
Publish App Google Play Store: How to Publish Your App Successfully

Play Console Store team

November 21, 2026

Share:

Table of Contents

Estimated progress
Interactive Guide

Publishing an app on the Google Play Store is a 10-step process with zero tolerance for skipped steps: each stage gates the next, and a failure at step 7 sends you back to step 4. Developers who follow the sequence ship in weeks; developers who wing it spend months in review limbo wondering why their app “won’t go live.” This is the tutorial version — follow it top to bottom, checking off each step, and you’ll publish successfully.

Prerequisites: a verified Google Play developer account ($25 paid, identity verified) and a finished, tested app. If you’re still on account setup, see our Google Play Console account guide.

In short: Publishing an app on Google Play is a 10-step process: build an Android App Bundle, create the app and enroll in Play App Signing, test through internal and closed tracks, complete the store listing and policy declarations, then promote to production with a 10–20% staged rollout. New personal accounts must first complete 14 days of closed testing with at least 12 testers.

Step 1: Build a Release-Ready Android App Bundle

Before touching the console, your binary must be right:

  • Build the Android App Bundle: ./gradlew bundleRelease → app-release.aab.
  • Set a unique, incrementing versionCode and a sensible versionName (1.0.0).
  • Target a current API level — Google raises the minimum targetSdkVersion annually; publishing against an outdated target is an instant rejection.
  • Include 64-bit native libraries for all ABIs you ship.
  • Shrink and obfuscate (R8/ProGuard) — smaller downloads convert better, and every 6MB of size costs roughly 1% of installs.
  • Test the exact release binary on real devices — not just debug builds. Sign it with your upload key.
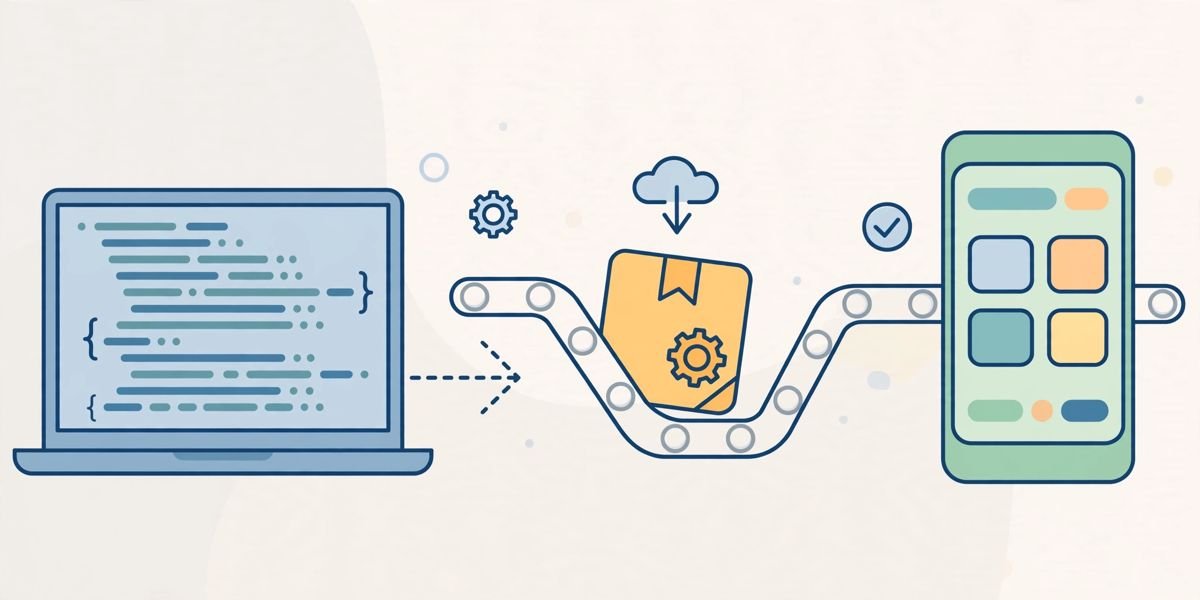
publish app google play store illustration
An app publishing pipeline from code on a laptop to a smartphone

Step 2: Create the App in Play Console

All apps → Create app. Enter the app name, default language, and app-vs-game. Then choose free or paid — this is irreversible: free apps can never become paid later.

Immediately go to Setup → App integrity → App signing and enroll in Play App Signing. Upload your upload key (or generate one). Copy the SHA-1/SHA-256 fingerprints — you’ll need them for Firebase, Google Sign-In, and API restrictions. Losing your keystore without enrollment means never updating the app again; enrollment makes key loss recoverable.

Step 3: Upload to Internal Testing

Release → Testing → Internal testing → Create new release. Upload your AAB, add up to 100 testers by email.

Internal testing distributes in minutes to hours — use it to verify the binary installs, launches, and passes critical paths on real devices. This is your smoke test; never promote an untested binary upward.

Step 4: Complete the Store Listing

Grow → Store presence → Main store listing:

  • App name (30 chars): Brand + keywords, no stuffing.
  • Short description (80 chars): your search-result pitch.
  • Full description (4,000 chars): benefit-led, honest, keyword-natural.
  • Icon 512×512, feature graphic exactly 1024×500, screenshots meeting minimum dimensions.
  • Category and contact details under Store settings.

Submit the listing now, in parallel with testing — listing review (usually hours) runs independently of app review, so early submission saves calendar time. Our listing optimization guide covers the ASO details.

Step 5: Clear Every Policy Declaration

Policy → App content. Each must show complete — incomplete declarations block release:

  1. Content rating — IARC questionnaire, answered truthfully.
  2. Target audience — age groups; children trigger Families requirements.
  3. Data safety — field-by-field data declaration matching your SDKs’ actual behavior. The #1 release blocker — audit SDKs with a tracker scanner before filling this in.
  4. Privacy policy — real, working URL describing actual practices.
  5. Advertising ID, permissions declarations, and category-specific items as prompted.

Treat this as engineering work, not paperwork — mismatches are treated as deceptive behavior. Our compliance guide goes deep.

The table below summarises the key declarations:

DeclarationWhat it covers
Content ratingIARC questionnaire, answered truthfully
Target audienceAge groups; children trigger Families requirements
Data safetyField-by-field data declaration matching your SDKs’ actual behavior
Privacy policyReal, working URL describing actual practices
Advertising ID / permissionsAdvertising ID, permissions declarations, and category-specific items as prompted

Step 6: Set Pricing and Distribution Countries

Monetize (for paid apps/in-app products) and Release → Production → Countries/regions:

  • Decide free vs. paid (already locked at creation — now configure details).
  • Set up in-app products/subscriptions if applicable, with pricing templates.
  • Select distribution countries — start with markets you can support.
  • Complete tax information in the payments profile — payouts can’t flow without it.

Step 7: Run Closed Testing (Don’t Skip This)

Release → Testing → Closed testing → Create new release. Promote your tested binary (don’t rebuild).

For new personal accounts this is mandatory: 14 days minimum, 12+ testers opted in via Google’s link. For everyone else it’s still essential:

  • Add testers via email list or Google Group.
  • Demo credentials for the pre-launch report if your app needs login.
  • Review the auto-generated pre-launch report: crashes on real devices, screenshots, accessibility, security. Gate promotion on it.
  • Gather feedback, fix issues, and re-upload fixed builds to the same track — the 14-day clock rewards genuine iteration.

Step 8: Promote to Production With a Staged Rollout

Release → Production → Create new release:

  1. Promote the tested AAB from your testing track (same binary).
  2. Write release notes — user-visible; lead with benefits.
  3. Confirm countries and pricing.
  4. Set a staged rollout: 10–20% initially.
  5. Submit and wait for review — new apps typically 3–7 days; have patience and don’t resubmit (resubmission resets your queue position).

Step 9: Monitor the Rollout Like a Hawk

For 48 hours after approval:

  • Watch Quality → Android vitals: crash/ANR rates by version vs. your baseline.
  • Watch Ratings and reviews → by version: rating drops signal problems faster than crash data sometimes.
  • Read new reviews mentioning the update.
  • If metrics go red: Halt rollout immediately (release page → Halt rollout), diagnose, fix, and roll forward — don’t “wait and see.”

Only ramp 20% → 50% → 100% when metrics are clean at each stage.

Step 10: Launch, Learn, Iterate

  • Announce after the rollout completes — not during the 10% phase.
  • Reply to launch-week reviews promptly (our review guide has the playbook).
  • Run a store listing experiment on your icon/screenshots with real traffic data.
  • Schedule your update cadence — biweekly or monthly trains beat sporadic mega-releases.
  • Do a post-launch retro: what stalled, what broke, what to fix in the process.
  • Document your timeline: how long verification took, how long review took, what got flagged. Your second app’s launch plan writes itself from the first app’s notes — and estimates beat guesses every time.

After Launch: The First 30 Days

The launch isn’t the finish line — the first month determines your trajectory:

  • Week 1: monitor vitals and reviews daily; reply to every launch review; fix any crash above your baseline immediately with a hotfix release.
  • Week 2: analyze acquisition — which countries, which listing elements (run your first store listing experiment), what the uninstall feedback says.
  • Week 3–4: ship your first update addressing launch feedback. Early responsiveness converts reviewers into loyalists and signals to Google’s systems that the app is actively maintained — a positive quality signal.

Apps that go quiet after launch day decay; apps that iterate in the first month compound. Schedule the update before you launch, not after.

The table below summarises the first 30 days:

PeriodFocus
Week 1Monitor vitals and reviews daily; reply to every launch review; fix any crash above your baseline immediately with a hotfix release
Week 2Analyze acquisition — which countries, which listing elements, what uninstall feedback says; run your first store listing experiment
Week 3–4Ship your first update addressing launch feedback

The Master Checklist

  • Release AAB built (versionCode, targetSdk, 64-bit, shrunk)
  • App created; Play App Signing enrolled; fingerprints saved
  • Internal testing passed on real devices
  • Store listing complete (name, descriptions, graphics, category)
  • All policy declarations complete and truthful
  • Privacy policy live
  • Pricing and countries configured; tax forms done
  • Closed testing run (14 days / 12 testers if required); pre-launch report clean
  • Production release: staged 10–20%, release notes written
  • 48-hour monitoring plan; halt procedure known
  • Launch announcement timed post-rollout

Google’s official publishing docs: Play Console Help Center.

Publish App Google Play Store: Key Takeaways

To publish app Google Play Store releases successfully, follow the ten steps in order: build a clean AAB, enroll in app signing, test through tracks, list honestly, declare completely, run closed testing, and roll out in stages. Every launch disaster traces to a skipped step. Make the checklist a habit and publishing becomes a process, not a gamble.
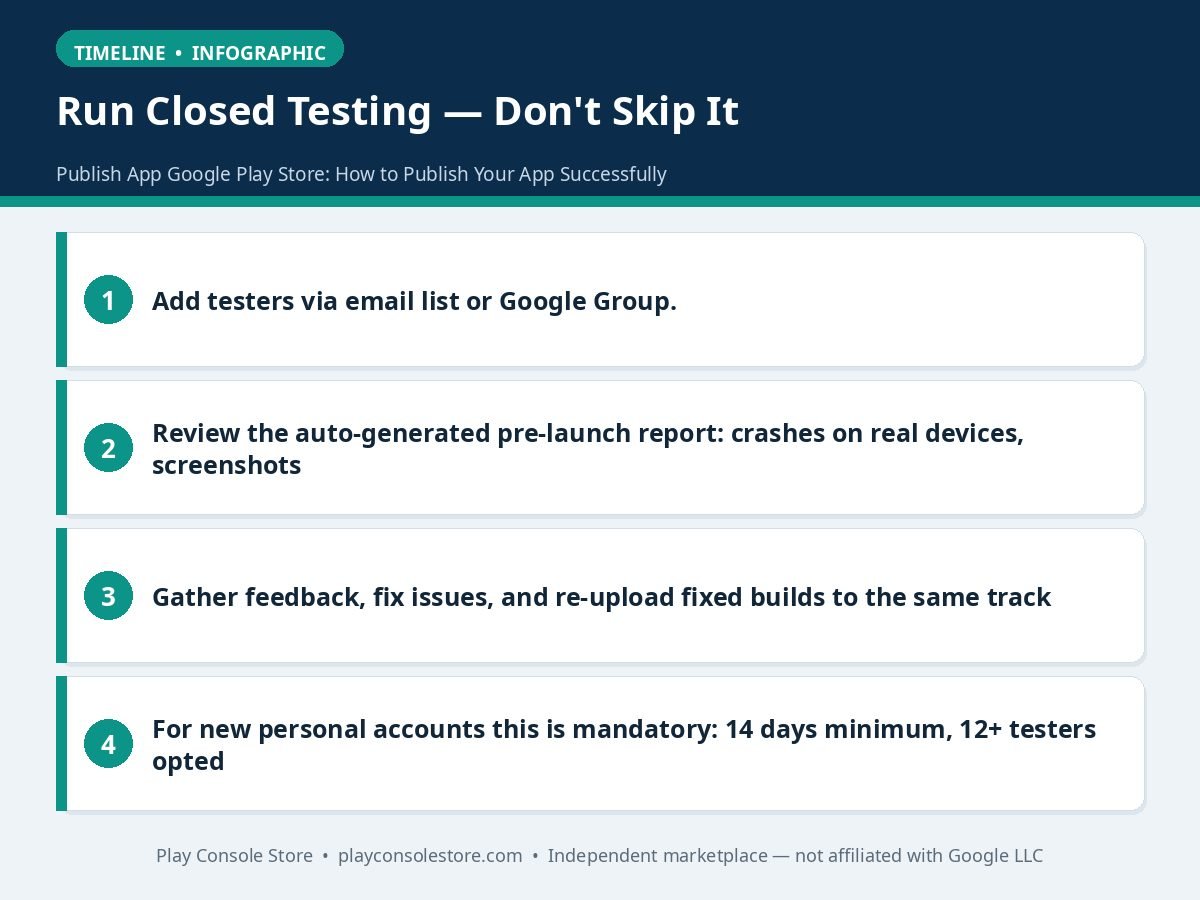
publish app google play store infographic — staged rollout chart with tester icons in a closed testing circle
A staged rollout chart with tester icons in a closed testing circle

Frequently Asked Questions

How long does it take to publish an app on Google Play Store?

For a prepared developer: 2–4 weeks end to end — account verification (hours to days), closed testing (14 days for new personal accounts), and review (3–7 days for new apps). Rushing any stage causes the delays; the checklist above is the fastest path because it avoids rework.

Can I publish an app for free?

The $25 developer registration is mandatory, but publishing a free app costs nothing beyond that. There are no per-app fees. “Free developer account” offers are scams.

Why is my app stuck in review?

Usually: incomplete policy declarations, data safety mismatches, or the review queue itself. Check Policy → App content for incomplete items and the Inbox for reviewer messages. Don’t resubmit identically — it resets your queue position.

Do I need 14 days of testing for every app?

No — the 14-day closed testing requirement (12+ testers) applies to new personal developer accounts before their first production release. Established accounts should still test properly, but aren’t gated the same way.

What’s the biggest mistake first-time publishers make?

Skipping steps in sequence — uploading to production first, writing the listing last, treating policy declarations as afterthoughts, and rolling out to 100% on day one. Follow the 10 steps in order and you avoid 90% of publishing pain.

Conclusion

Publishing successfully on Google Play is a checklist discipline: build right, sign up for app signing, test in stages, list honestly, declare completely, roll out gradually, and monitor ruthlessly. Follow these 10 steps in order and your launch becomes a process instead of a gamble.

Play Console Store is an independent marketplace that helps Android developers publish successfully — end-to-end launch management, checklists, and review. Explore our Google Play services and ship your app right the first time.

KNOWLEDGE BASE

Related Android Developer Field Manuals

Sign In Google Developer: Account Recovery Guide

When you can’t sign in to your Google developer account, the stakes are higher than a locked email: your apps,

Publish App Google Play Store: How to Publish Your App Successfully

Publishing an app on the Google Play Store is a 10-step process with zero tolerance for skipped steps: each stage

Play Market Developer Console: The Global Publishing Playbook

“Play Market” is what billions of users call Google Play — and those users live in 190+ countries with different

Get notified when Google updates Play Console policies or SDK requirements.

Join 12,000+ Android developers who receive our quarterly policy diff summaries, rejection workarounds, and ready-to-use boilerplate releases.