

November 11, 2026

Search “console googleplay” and you’ll land at play.google.com/console — the official Google Play Console. But landing there and finding things there are different skills. The console’s navigation hides critical features three levels deep: the release overview isn’t where new users expect, app signing lives under account Setup rather than per-app Release, and half the Grow section only appears after your first release exists. This guide is a complete navigation map — every section, what lives inside it, and the exact click-path to the tasks developers perform most.
In short: Console Googleplay is the web console at play.google.com/console, organised along two axes — per-app sections (Dashboard, Release, Grow, Monetize, Quality, Policy) and account-level Setup. App signing, user invites and payments live at account level, not inside an app. This guide maps every section and lists the 15 click-paths developers use most.
Console Googleplay organizes everything along two axes. Grasp this and the whole interface clicks:
The #1 navigation mistake: hunting for app signing under Release (it’s account-level, under Setup), or looking for user invites inside an app (they’re account-level, under Setup → Users & permissions).
The table below summarises the two navigation axes:
| Navigation level | Sections | Scope |
|---|---|---|
| Per-app | Dashboard, Release, Grow, Monetize, Quality, Policy, App settings | Affects one app |
| Account-level | Setup, Users, Payments, Developer account | Affects all apps on the account |

Path: play.google.com/console → All apps. Your fleet overview: icon, name, and status badges per app (draft, in review, published, suspended, removed). Use the status filter when managing many listings.
Selecting an app opens its Dashboard: production release state, latest pre-launch report summary, vitals alerts, policy warnings, and ratings snapshot. Make this your daily landing page — vitals spikes and policy deadlines surface here first.
Create app (top right): name, default language, app vs. game, free vs. paid. Irreversible choices: paid apps can never become free, and the package name set at first upload is permanent.
Path: App dashboard → Release. Sub-sections:
Full rollout tactics are in our release management guide.
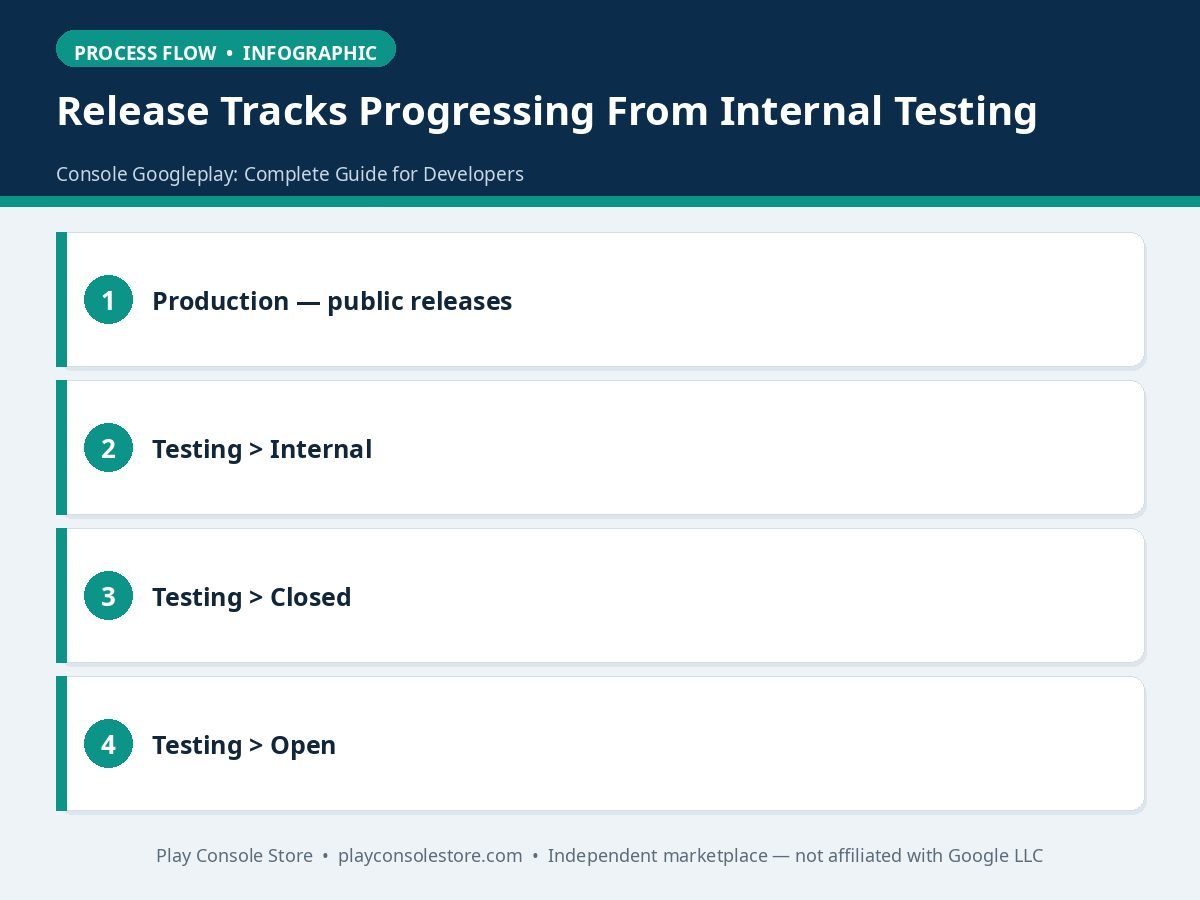
The table below summarises the release tracks described above:
| Track | Access | Notes from the guide |
|---|---|---|
| Production | Public releases | Upload.aab, write per-language release notes, choose full or staged rollout, halt a rollout here in emergencies |
| Testing → Internal | Up to 100 testers | Live in minutes; used for daily builds |
| Testing → Closed | Named tracks for beta cohorts | Also where new accounts satisfy the 14-day/12-tester rule; testers via email lists or Google Groups |
| Testing → Open | Public opt-in link | For pre-launch scale |
Grow — your marketing surface: Store presence → Main store listing (name, descriptions, graphics), Store listing experiments (A/B tests), Pre-registration, and user-acquisition reports.
Monetize — Products (in-app products, subscriptions with trials and intro pricing), pricing & distribution (free/paid, countries), and the account-level payments profile (tax forms, payout details — payouts stall until tax info is complete).
Quality — Android vitals → Overview (crash/ANR rates vs. Google’s bad-behavior thresholds), Pre-launch reports (automated real-device testing per upload), Device catalog, and Statistics (installs, retention, ratings, segmented).
Policy — per-app compliance: App content (content rating questionnaire, target audience, data safety form, declarations), Policy status (warnings, rejections, deadlines — triage same-day), and your privacy policy URL under Store presence.
Setup (account level) — Developer account (verification status, public profile), Users & permissions (invite team, assign roles), App signing (Play App Signing enrollment, upload keys), API access (service accounts for CI/CD), License testing (test-purchase Gmail addresses), and notification preferences.
The authoritative reference for any page is Google’s Play Console Help Center.
Bookmark this list — it covers ~90% of weekly console work. New to the console entirely? Start with our 30-minute tutorial.
Daily console work compresses dramatically with these shortcuts and habits.
Rail search first. The left navigation’s search box jumps to any page by name — “license testing,” “app signing,” “data safety” — faster than memorizing the menu tree. Use it for everything you visit less than weekly.
Bookmark deep links. Your five daily pages (app dashboard, release overview, vitals, reviews, policy status) as browser bookmarks, organized per app. Two clicks to anywhere that matters.
Notification triage. Under Setup, configure email notifications granularly: policy events and vitals alerts to the whole team channel, review notifications to support, finance events to finance. Notification fatigue causes the ignored warnings that become enforcement — tune until every alert is actionable.
Bulk operations. Managing multiple apps? The All apps view supports bulk actions for common tasks, and per-app settings can be templated by documenting your standard configuration (target audience defaults, notification prefs, tester list conventions) in a team runbook.
The URL trick. Console URLs encode the app and section — once you learn the pattern, you can construct links to any app’s vitals or release page directly, which is invaluable when directing teammates (“check this exact page”) in incident threads.
Keyboard and tab discipline. Open console sections in background tabs during triage (dashboard, vitals, release overview, policy status) and work across them — the console’s per-page load times reward parallel reading. Pair with one Chrome profile per identity (see our access guides) and the wrong-account tax disappears entirely. Revisit these shortcuts quarterly — Google redesigns console navigation periodically, and the fastest path this year may move next year.
At play.google.com/console, signing in with the Google account that owns (or was invited to) your developer account. If the console prompts you to pay $25 and create an account, you’re signed into the wrong Google identity — switch via the avatar menu rather than paying again, since the fee is per developer account.
Because it’s account-level, not per-app: go to Setup → App signing in the account-level navigation. Per-app sections (Release, Grow, Monetize, Quality, Policy) appear only after selecting an app, while Setup, Users, and Payments live at the account level. Learning the two navigation axes eliminates most “where is it” confusion.
Two usual causes: role permissions (invited users see only what their role allows — ask an admin to check Users & permissions) and state gating (some Grow and Monetize options appear only after a release exists). The left-rail search box also jumps directly to any page by name, which bypasses menu hunting entirely.
Use the app switcher at the top of the left navigation rail, or return to All apps and select a different listing. Each app’s dashboard, tracks, statistics, and policy status are fully separate — always confirm which app is active before uploading or releasing anything.
At the account level:
Yes — Google’s official Play Console Android app covers releases, statistics, review reading and replies, and vitals alerts, making it ideal for daily monitoring. Full administrative tasks (verification, user management, app signing, app transfers) still require the desktop web console.
At play.google.com/console, signing in with the Google account that owns (or was invited to) your developer account. If the console prompts you to pay $25 and create an account, you’re signed into the wrong Google identity — switch via the avatar menu rather than paying again, since the fee is per developer account.
Because it’s account-level, not per-app: go to Setup → App signing in the account-level navigation. Per-app sections (Release, Grow, Monetize, Quality, Policy) appear only after selecting an app, while Setup, Users, and Payments live at the account level. Learning the two navigation axes eliminates most “where is it” confusion.
Two usual causes: role permissions (invited users see only what their role allows — ask an admin to check Users & permissions) and state gating (some Grow and Monetize options appear only after a release exists). The left-rail search box also jumps directly to any page by name, which bypasses menu hunting entirely.
Use the app switcher at the top of the left navigation rail, or return to All apps and select a different listing. Each app’s dashboard, tracks, statistics, and policy status are fully separate — always confirm which app is active before uploading or releasing anything.
At the account level: Setup → Payments opens the payments profile with tax forms, payout bank details, and payment thresholds. Per-app revenue reports live under Monetize within each app. Payouts stall until tax information is complete, so verify that section long before launch.
Yes — Google’s official Play Console Android app covers releases, statistics, review reading and replies, and vitals alerts, making it ideal for daily monitoring. Full administrative tasks (verification, user management, app signing, app transfers) still require the desktop web console.
Console Googleplay is a big interface, but it’s a logical one: per-app sections for shipping and growing one app, account-level Setup for identity, access, signing, and money. Learn the two axes, memorize the 15 paths above, and the console stops being a maze and starts being a tool.
Play Console Store is an independent marketplace helping Android developers master the console — setup, releases, testing, and compliance. Explore our Google Play services.