

November 13, 2026

For Android developers, the Android Play Console is the second half of the toolchain — Android Studio builds the app, the console ships it. The handoff between the two is where publishing succeeds or fails: signing configuration, bundle generation, version codes, track uploads, and the release engineering that turns “it runs on my device” into “it’s live for millions.” This guide covers the complete Studio-to-store workflow.
In short: Android Play Console is the second half of the publishing toolchain: Android Studio builds the app, the console ships it. Enrol in Play App Signing, build a signed Android App Bundle, upload to the internal track first, clear the pre-launch report, satisfy closed testing, then stage production in 10–20% steps while watching vitals.
The division of labor:
Nothing reaches users without passing through both. The console fundamentals are in our complete guide; here we focus on the handoff.

This is the most failure-prone part of the workflow. Modern best practice:
If you lose the upload key: with Play App Signing enrolled, you can request an upload key reset through console support — annoying but recoverable. Without enrollment, a lost keystore can permanently block updates. Enroll before your first upload, no exceptions.
The console orders builds by versionCode (integer, monotonic). Rules that bite:
The table below summarises the version-code rules described above:
| Rule | Detail stated in the guide |
|---|---|
| Ordering | Every upload to any track needs a higher versionCode than the last — across tracks, not per track |
| Reserved ranges (example) | Internal 1xxx, closed 2xxx, production from a clean base — assigned deterministically by CI |
| versionName | Cosmetic (what users see); versionCode is what the console enforces |
| Build variants | Use variants/flavors for environment separation (dev/staging/prod application IDs) so test builds never collide with release identity |
Release → (track) → Create new release → upload.aab:
After upload, check Quality → Pre-launch reports: automated real-device testing (crashes, performance, accessibility, security) for every bundle. Gate promotions on clean reports — it’s free QA.
The table below summarises the tracks in practice:
| Track | Purpose stated in the guide |
|---|---|
| Internal testing | First stop for every build; live in minutes, up to 100 testers; validate the upload pipeline here |
| Closed testing | Beta cohorts; also the track where new accounts satisfy the 14-day/12-tester production gate |
| Open testing | Public opt-in link for pre-launch scale |
| Production | Public; always staged: 10–20% → monitor 24–48h → ramp; halt rollout on regression |
Release engineering depth: our release management guide. Testing-track strategy: our dev workflow guide.
Google’s build-and-publish docs: developer.android.com/distribute/console.
Most console upload rejections trace back to Gradle misconfiguration. Here’s the release-block setup that prevents them.
Signing config. Define a dedicated release signing config in build.gradle (or build.gradle.kts) pointing at your upload keystore — never commit the keystore or its passwords to version control; inject via environment variables or a local keystore.properties excluded from git. The classic failure is a release build accidentally signed with the debug key: the console rejects it, and the version code is burned.
signingConfigs {
 release {
 storeFile file(System.getenv("KEYSTORE_PATH"))
 storePassword System.getenv("KEYSTORE_PASSWORD")
 keyAlias System.getenv("KEY_ALIAS")
 keyPassword System.getenv("KEY_PASSWORD")
 }
}
buildTypes {
 release {
 signingConfig signingConfigs.release
 minifyEnabled true
 shrinkResources true
 }
}
Version code strategy. Derive versionCode deterministically — e.g., from CI run numbers with a track offset — so rebuilds never collide and promotion ordering stays sane. A hardcoded version code that someone forgets to bump is the #1 “upload rejected” support ticket.
Application ID discipline. The applicationId in the release variant must match the console listing’s package name exactly — including case. Product flavors for dev/staging should use applicationIdSuffix (.dev, .staging) so test builds install side-by-side without touching the production identity.
Bundle configuration. Enable app bundles (Build → Build Bundle(s)), confirm android.bundle settings for language and density splits if you use them, and keep an eye on the download-size warnings the console shows per upload — bloated bundles hurt conversion, especially in emerging markets. Validate the final.aab with bundletool locally before uploading: install the generated APK set on a real device and smoke-test. Catching a packaging issue locally costs minutes; catching it after a track upload costs a release cycle.
Size budgets in CI. Add a build step that fails the pipeline when the .aab exceeds your budget (e.g., 50MB for most apps, tighter for emerging-market apps). Use bundletool get-size to estimate per-device download sizes from the bundle — the raw.aab size understates what users download once Play generates splits. Common bloat sources: unoptimized PNGs (convert to WebP), duplicate native libraries across ABIs, and bundled ML models that should download on demand via Play Asset Delivery. A build that passes the size gate ships faster through review and converts better on the store, especially where users watch their data plans. Document the budget in your build config comments so future developers understand why the pipeline fails — a failing check without context gets disabled, and a disabled check protects no one. Pair the size budget with a performance budget: cold-start time and install time measured on a low-end reference device in CI. Size and speed together determine install conversion more than either alone.
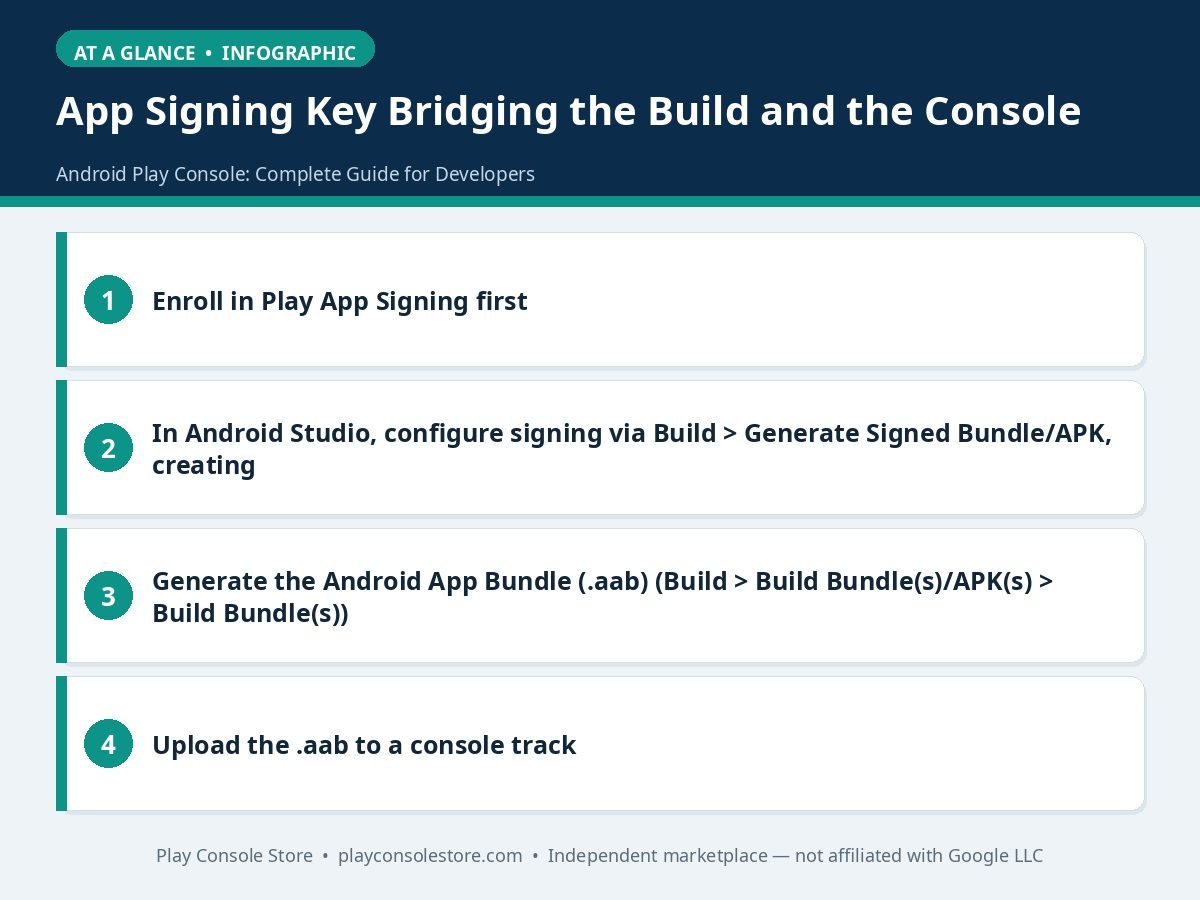
Build a signed Android App Bundle from your release variant (Build → Build Bundle(s)), enroll in Play App Signing, upload the .aab to a release track in Play Console, complete the store listing and policy declarations, then stage a production rollout with release notes. Validate every step on the internal track before touching production.
AAB — Google requires the Android App Bundle format for all new apps, and standalone APKs are rejected at upload for new listings. AAB also enables Play’s optimized delivery, generating smaller per-device downloads, which measurably improves install conversion in bandwidth-constrained markets.
With Play App Signing enrolled, request an upload key reset through Play Console support and register a new upload key — annoying but fully recoverable. Without enrollment, a lost keystore can permanently prevent updates to your app, which is why enrollment before the first upload is mandatory in practice, not optional.
The integer versionCode in your build config must increase with every upload across all tracks — the console rejects non-increasing codes. versionName is the user-visible string and isn’t enforced. Manage codes deterministically from CI with reserved ranges per track, since a higher code on a lower track blocks promotion.
Yes — the Play Developer API (Setup → API access, via service account) lets CI upload bundles and manage track releases programmatically. Automate uploads through internal and closed tracks; keep production promotion manual or vitals-gated so automation never ships a bad build to users unattended.
The usual causes: APK instead of AAB for a new app, a non-increasing versionCode, a package name mismatch with the listing, signing with the wrong key, or missing Play App Signing enrollment. The console’s error message names the specific issue — fix exactly that and re-upload rather than changing multiple things at once.
The Android Studio → Play Console handoff is a solved problem once you standardize it: Play App Signing enrolled, upload key secured, AAB always, version codes disciplined, internal track first, pre-launch gates enforced, production staged. Build the pipeline once, then shipping becomes routine.
Play Console Store is an independent marketplace helping Android developers with the console side of this workflow — setup, testing, releases, and compliance. Explore our Google Play services.