

November 12, 2026

“Android Developer Console” is the name a generation of developers learned for Google’s app publishing dashboard — and while Google rebranded it to Google Play Console years ago, the old name persists in tutorials, Stack Overflow threads, and search queries. If you searched the classic name, you’re in the right place: this guide covers what the Android Developer Console is today, how to set it up, and the modern publishing workflow inside it.
In short: Android Developer Console is the former name of Google Play Console — the same mandatory gateway for publishing Android apps, now with identity verification, a $25 one-time fee, and a 14-day closed testing rule for new accounts. Old tutorials still teach the concepts, but their click-paths are outdated: use the console layout and the Help Center for mechanics.
The original Android Developer Console launched as a spare publishing portal for Android Market (later Google Play). Over the years it absorbed release management, beta testing, crash reporting, and policy tooling, and Google eventually renamed it Google Play Console (play.google.com/console) to reflect that it serves the whole Play ecosystem — apps, games, and Play services.
What changed besides the name: mandatory identity verification, the $25 registration fee (long-standing), the 14-day closed testing rule for new accounts, data safety declarations, and a vastly expanded policy apparatus. What didn’t change: it’s still the single mandatory gateway for publishing Android apps on Google Play — there’s no alternative route to the store.
If you’re following an old tutorial that says “Android Developer Console,” mentally substitute the modern console and double-check any UI paths — the interface has been redesigned multiple times. Our console navigation map gives the current layout.

Whatever you call it, setup follows the same current rules:
New personal accounts must also complete 14 days of closed testing with 12+ opted-in testers before production unlocks. Verification takes 1–3 days (personal) or 1–3 weeks (organization). Full detail in our developer account guide.
The table below summarises the modern setup requirements:
| Requirement | Detail stated in the guide |
|---|---|
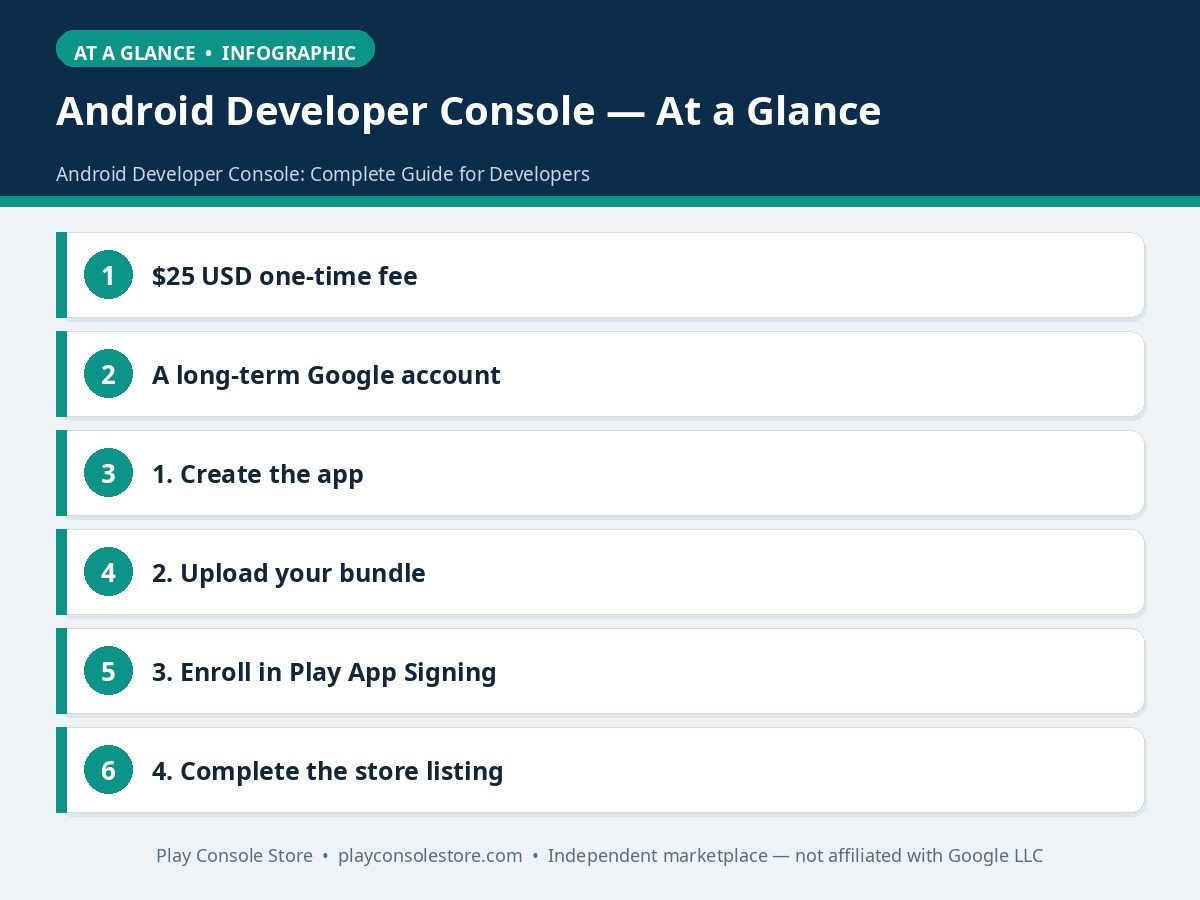
| Registration fee | $25 USD one-time per developer account — no renewals, unlimited apps |
| Identity verification | Government photo ID for personal accounts; D-U-N-S number plus business documents for organization accounts |
| Owner account | A long-term Google account, secured with 2-step verification before you register |
| Developer profile | Public developer name, support email, physical address |
| Closed testing (new personal accounts) | 14 days of closed testing with 12+ opted-in testers before production unlocks |
| Verification time | 1–3 days (personal) or 1–3 weeks (organization) |
The workflow old-console veterans will recognize, updated for today’s requirements:
All apps → Create app. Name, default language, app vs. game, free vs. paid (paid can never become free — decide carefully). The package name set at first upload is permanent.
Release → (track) → Create new release. New apps require the Android App Bundle (.aab) format; standalone APKs are no longer accepted for new submissions. Start on the internal testing track to validate the pipeline in minutes.
Setup → App signing. Google manages your signing key. This is the modern answer to the old keystore-loss horror stories — enroll on day one.
Grow → Store presence → Main store listing. Icon, feature graphic, screenshots in exact required dimensions; 30-char name, 80-char short description, 4,000-char full description. Honest, keyword-aware copy — stuffing and misleading claims are rejection triggers.
Policy → App content: content rating questionnaire, target audience, data safety form (must match actual app + SDK behavior), plus a real privacy policy URL. Every item is a release blocker until complete.
Closed testing (including the 14-day rule for new accounts), then staged production rollouts: 10–20% → monitor vitals and reviews 24–48h → ramp. The Halt rollout button is your emergency brake. New apps face 3–7 days of review.
The table below summarises the publishing workflow steps above:
| Step | Action and path |
|---|---|
| 1. Create the app | All apps → Create app; name, default language, app vs. game, free vs. paid (paid can never become free); package name set at first upload is permanent |
| 2. Upload your bundle | Release → (track) → Create new release; new apps require Android App Bundle (.aab); start on internal testing track |
| 3. Enroll in Play App Signing | Setup → App signing; Google manages your signing key |
| 4. Complete the store listing | Grow → Store presence → Main store listing; 30-char name, 80-char short description, 4,000-char full description |
| 5. Finish mandatory declarations | Policy → App content: content rating, target audience, data safety form, privacy policy URL — every item is a release blocker until complete |
| 6. Test, then ship | Closed testing (including the 14-day rule for new accounts), then staged production rollouts 10–20% → monitor 24–48h → ramp; new apps face 3–7 days of review |
Google’s current documentation: the Play Console Help Center.
Following a tutorial written for the old Android Developer Console? Here’s your translation guide for the things that changed most.
UI paths moved. The 2019 console redesign reorganized everything: what old guides call “APK” sections are now Release tracks; “Store Listing” is Grow → Store presence; “Pricing & Distribution” is split across Monetize and per-track Countries/regions. When a tutorial’s click-path dead-ends, use the left-rail search box with the feature name — it finds the current location instantly.
APK → AAB. Old tutorials upload APKs. For new apps, that’s now wrong: Google requires the Android App Bundle (.aab) format. If a guide says “generate signed APK,” substitute “generate signed bundle” — and enroll in Play App Signing, which didn’t exist when most old guides were written.
New mandatory steps old guides omit. Data safety forms, the 14-day closed testing rule for new accounts, target audience declarations, and identity verification depth all postdate the classic tutorials. A guide that takes you from upload to “publish” without mentioning declarations will leave your submission blocked — budget these steps regardless of what the tutorial says.
Policy strictness increased. Keyword stuffing, incentivized reviews, and loose data declarations that old guides treated casually are now enforcement triggers. Treat vintage growth advice as historical documentation, not instruction.
What still transfers. The fundamentals are timeless: staged rollouts, track discipline, release notes, vitals monitoring, and honest listings. Learn the concepts from old guides; get the mechanics from current documentation — Google’s Play Console Help Center is the source of truth for 2026.
Red flags in old tutorials. Treat any guide with suspicion if it: uploads APKs for new apps, skips data safety or content rating steps, recommends keyword stuffing or incentivized reviews, shows the pre-2019 console UI without noting the redesign, or promises “instant” publishing without mentioning review times. One red flag means verify everything else the guide claims against current documentation before following it. The concepts age well; the click-paths and policy details don’t — when in doubt, the Help Center wins over any tutorial, including this one. Bookmark the Help Center’s update announcements — Google posts console UI changes there first, and a five-minute monthly skim keeps your mental map of the interface current.
Yes. Android Developer Console was the product’s former name; Google rebranded it to Google Play Console (play.google.com/console) years ago. It’s the same mandatory publishing gateway with a modernized interface and stricter requirements — old tutorials referencing the former name are conceptually valid but their UI paths are outdated.
A $25 one-time registration fee per developer account plus identity verification — no renewals, no per-app fees, unlimited apps forever. Google additionally takes a 15% service fee on your first $1M in annual Play earnings per account (30% above that) for paid apps and in-app purchases.
Not for new apps — Google requires the Android App Bundle (.aab) format for all new listings, and standalone APKs are rejected at upload. Existing apps with legacy APK configurations have their own migration paths, but every new submission starts with AAB plus Play App Signing enrollment.
Verification (1–3 days for personal accounts) → 14-day closed testing with 12+ opted-in testers → 3–7 days of app review: realistically 4–6 weeks for a brand-new developer. Recruit testers during verification and prepare the store listing and declarations in parallel to avoid adding idle weeks.
No. Personal developer accounts serve individuals with just a government-issued photo ID — no company, no D-U-N-S number. Organization accounts (D-U-N-S plus business documents, 1–3 weeks verification) are for companies, studios, and anyone publishing for clients.
At play.google.com/console, signing in with the Google account that owns your developer account. If you’re prompted to pay the $25 fee, you’re signed into the wrong Google account — switch via the avatar menu instead of paying again. Always verify the domain before entering credentials: phishing clones target developers precisely because console access is so valuable.
Call it Android Developer Console or Google Play Console — the craft is the same: verify carefully, build on test tracks, declare honestly, and roll out in stages. The developers who learned the old console have a head start on concepts; this guide closes the gap on everything that’s changed since.
Play Console Store is an independent marketplace helping Android developers navigate the modern console — setup, verification, testing, releases, and compliance. Explore our Google Play services.