

November 8, 2026

The Google Play Store dev console is the developer’s side of Google Play — the toolkit for getting builds onto devices safely and keeping them healthy afterward. This guide focuses on the development operations: release tracks, staged rollouts, crash monitoring, and the daily and weekly workflows that professional Android teams run inside the console.
The dev console is where builds become releases: four tracks used as environments, staged rollouts starting at 10–20%, Android vitals watched like SLIs, and a release-readiness checklist before every promotion. Operational discipline here is what keeps launches calm.
New to the platform? Start with our Google Play Console complete guide for setup, then come back here for operations.
The dev console gives you four tracks. Use them as environments, not just options:
Up to 100 testers, near-instant distribution. Wire this to your CI so every green build on main is installable within minutes. Your QA team and internal stakeholders should live here. If a build can’t survive internal testing, it never deserves a wider audience.
Named testers via email lists or Google Groups. Run structured beta cycles here: release candidates go out, feedback comes back through a dedicated channel, and release notes tell testers what to try. For new personal developer accounts, this track is also where the mandatory 14-day / 12-tester closed test happens before production unlocks — see our closed testing guidance.
Anyone can join via a public link. Use it for pre-launch buzz and scale testing: thousands of real devices you don’t own, surfacing the long tail of device-specific bugs your lab never will.
The public Play Store. Nothing here should ever be a surprise — every production build should have survived internal, closed, and ideally open testing first.
The table below summarises the four release tracks:
| Track | Access | Use described in this article |
|---|---|---|
| Internal testing | Up to 100 testers, near-instant distribution | Your continuous deployment channel, wired to CI |
| Closed testing | Named testers via email lists or Google Groups | Structured beta cycles; also the mandatory 14-day / 12-tester closed test for new personal accounts |
| Open testing | Anyone can join via a public link | Pre-launch buzz and scale testing on real devices |
| Production | The public Play Store | Builds that have survived internal, closed, and ideally open testing first |

In the production track, never release to 100% on day one. The staged rollout control is the most important safety feature in the dev console:
If vitals spike or reviews turn at any stage, halt the rollout from the release dashboard. The halted build stops reaching new users; users who already have it keep it until you ship a fix. Then promote the hotfix through the same staged path.
Real-world rule: the cost of a 48-hour staged rollout is two days of patience. The cost of a bad build at 100% is a ratings crater that takes months to recover.
Quality → Android vitals tracks the metrics Google uses to judge your app’s technical quality:
Cross Google’s thresholds and your app’s discoverability drops — unstable apps get downranked in search and recommendations. Check vitals after every release, compare against your own baseline (not just Google’s lines), and treat any post-release delta as guilty until proven innocent.
The table below summarises the Android vitals metrics:
| Metric | What it tracks | Threshold / note in this article |
|---|---|---|
| Crash rate | Percentage of sessions ending in a crash | Google’s bad-behavior threshold sits around 1.09% for phones — alert long before that |
| ANR rate | App-not-responding events | Threshold around 0.47% |
| Excessive wakeups and stuck partial wake locks | Battery-draining behaviour | Described as battery killers that hurt rankings |
Before promoting to production, check the pre-launch report generated from your testing tracks — automated testing on real devices in Google’s lab, flagging crashes, accessibility issues, and security concerns. It’s free QA on devices you don’t own. Fix everything it flags as an error; triage the warnings.
After release, the Release dashboard shows rollout progress, install metrics per version, and any policy holds. Make it a daily check during rollouts, weekly otherwise.
The dev console tracks builds by version code (an integer that must increase with every upload) while users see the version name (“2.4.1”). Establish a scheme early — e.g., major×1000000 + minor×1000 + patch — and enforce it in CI. Version code collisions are a common, silly reason releases fail, and they’re entirely preventable.
Keep old production builds available for rollback planning, and document which version introduced which changes. When a user reports a bug “in the latest version,” you need to know exactly which build that means.
Halting a rollout stops the bleeding, but users who already installed the bad build still have it. Your rollback plan should be written before you ever need it:
Under Setup → Users and permissions, enforce least privilege:
Require two-person review for production promotions if your team is bigger than three people. The dev console doesn’t enforce this natively, so make it a process rule: no production release without a second pair of eyes on the release notes and rollout plan.
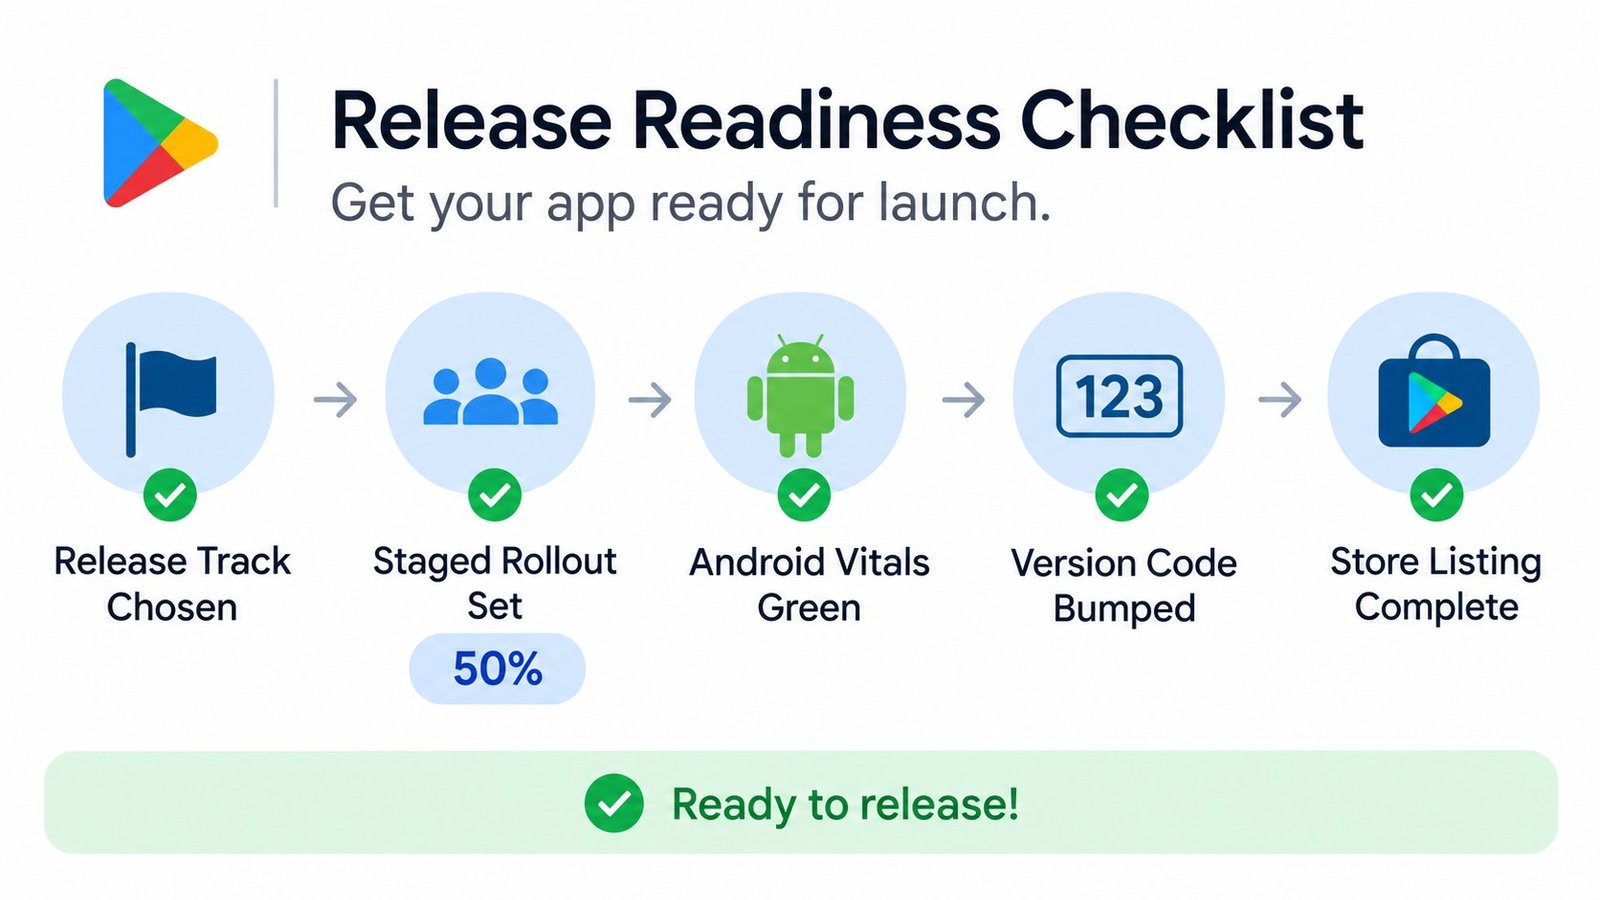
Run through this before every production promotion. It takes fifteen minutes and catches the failures that cause most release-day disasters:
Build and signing
Policy and declarations
Testing evidence
Store and rollout
Post-release
Pin this checklist in your team wiki. The releases that go wrong are almost never mysterious — they’re checklist items someone skipped under deadline pressure. Google’s official launch checklist is a good companion reference for the store-facing side.
Go to Release → Production (or a testing track), create a new release, upload your .aab bundle, add release notes, set your rollout percentage, and submit. Review typically takes 24–48 hours for updates.
A staged rollout releases your update to a percentage of users (e.g., 20%) instead of everyone at once. You monitor vitals and reviews, then increase the percentage. It limits the blast radius of bad builds.
Open the release in the Release dashboard and select Halt rollout. New users stop receiving the build immediately. Then fix the issue and ship a new release.
Google’s technical quality metrics: crash rate, ANR rate, and battery-related behaviors. They affect your app’s discoverability — apps exceeding bad-behavior thresholds get downranked.
Yes — use managed publishing (Publishing overview → Managed publishing). Approved changes wait until you explicitly publish them, letting you coordinate launches with marketing.
For the mandatory new-account requirement: at least 12 testers for 14 days. For ongoing beta programs, more is better — aim for hundreds in open testing for meaningful device coverage.
The Google Play Store dev console rewards operational discipline: tracks as environments, staged rollouts as law, vitals as SLIs, and least-privilege access throughout. Build these habits now and every release gets calmer.
If release operations, testing, or compliance are eating your development time, Play Console Store takes them off your plate — setup, verification, closed testing coordination, and policy remediation. We’re an independent marketplace. See our Google Play services and developer best practices.